| |||||
| Chapter 1 The Greenhouse | |||||
| Campaign | Dead Air | ||||
| Dead Air Chapter Chronology | |||||
| |||||
- "Working plane means working airport. I say we head there."
- ―Francis
- "Flying out of this place would be a lot easier than walking."
- ―Zoey
- For the actual in-game greenhouse, see Greenhouse.
The Greenhouse is the first chapter of the fourth campaign, Dead Air.
The Survivors start off in the backroom of a roof-top greenhouse containing a table that has four first aid kits, four molotovs, four pipe bombs, tier one weapons and an ammo cache. This is the only campaign that supplies the Survivors with both Pipe Bombs and Molotovs at the very start.
The introductory cutscene features a very low-altitude pass by a military transport aircraft (a C-130) with lowered undercarriage. The survivors are taken by surprise and someone will exclaim that this strongly suggests the local airport is still open and operational. Another Survivor will occasionally reinforce a spontaneous plan to head to the airport by saying that they cannot stay up in the greenhouse forever. This latter comment makes it possible to infer that the Survivors have been hiding out up there for some time. From time to time Bill will also make a favorable comment about the C-130's flying comfort; a reassuring observation which naturally serves to provide added motivation to the plan to get to the airport for evacuation.
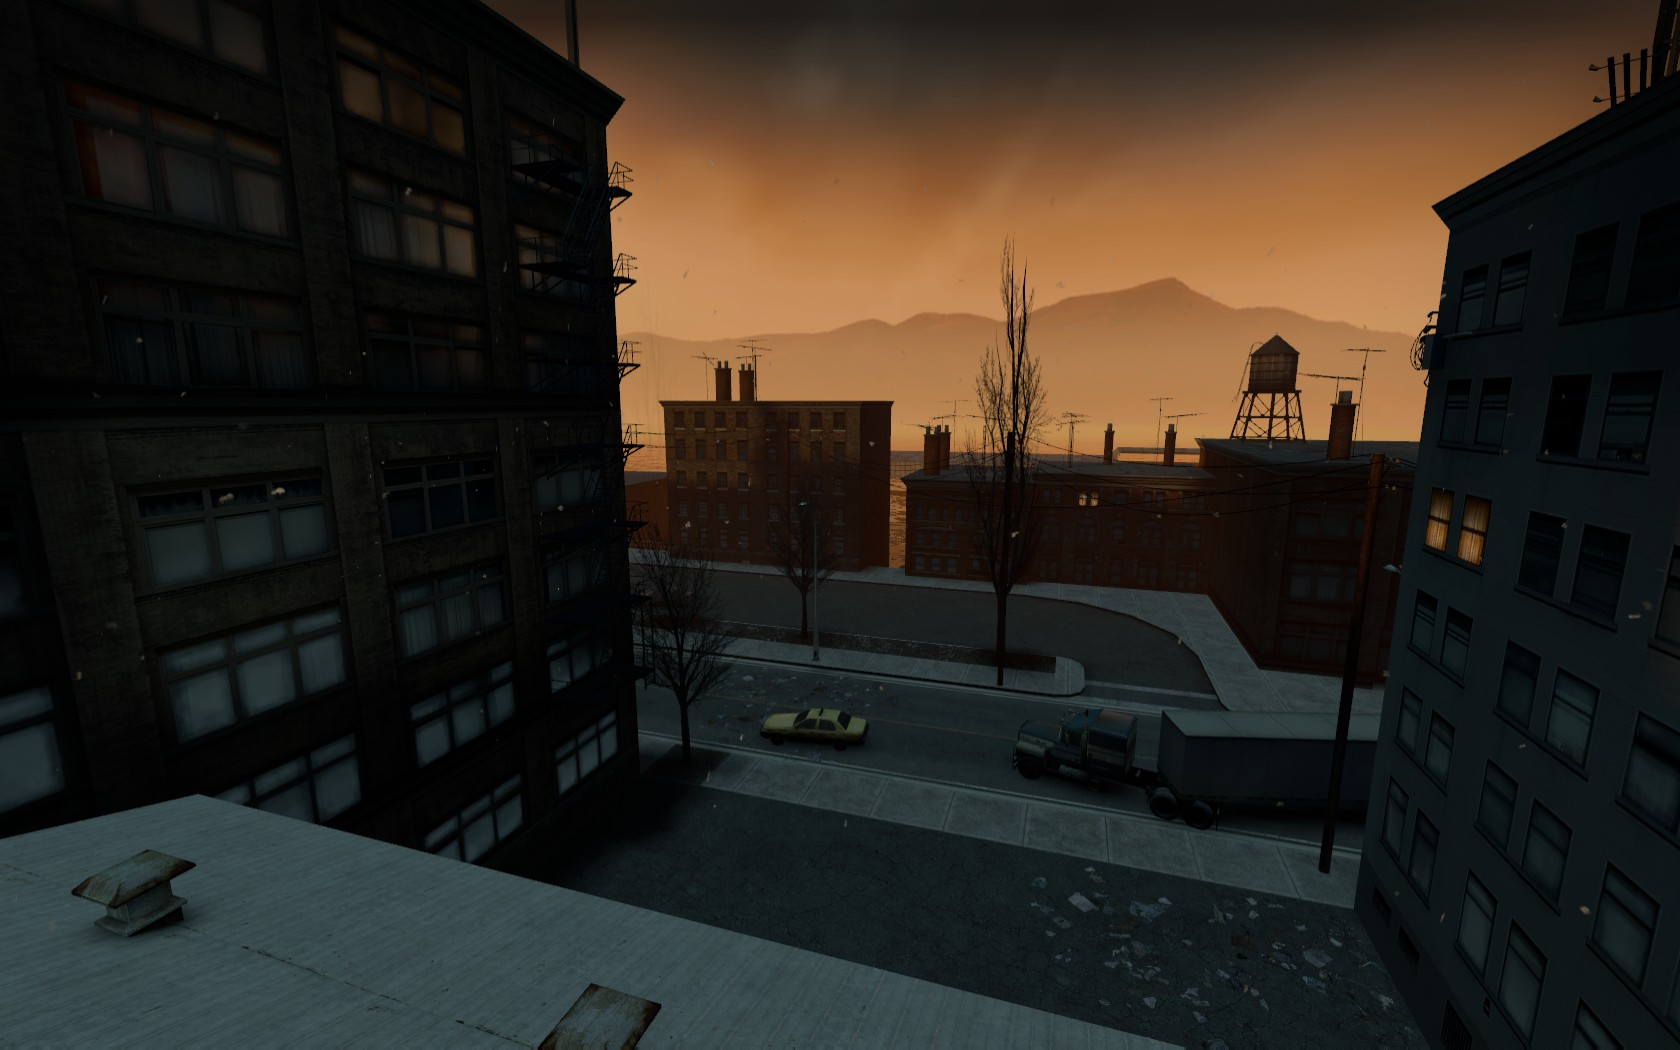
In order to reach the airport, Survivors begin by working their way across various rooftops and entering several apartment buildings. Near the end of the first map they will exit through an apartment window and drop down on top of a semi truck across the road from the Harbor View Hotel which contains a safe room in its service kitchen.
This chapter is a relatively short one in terms of both time and distance.
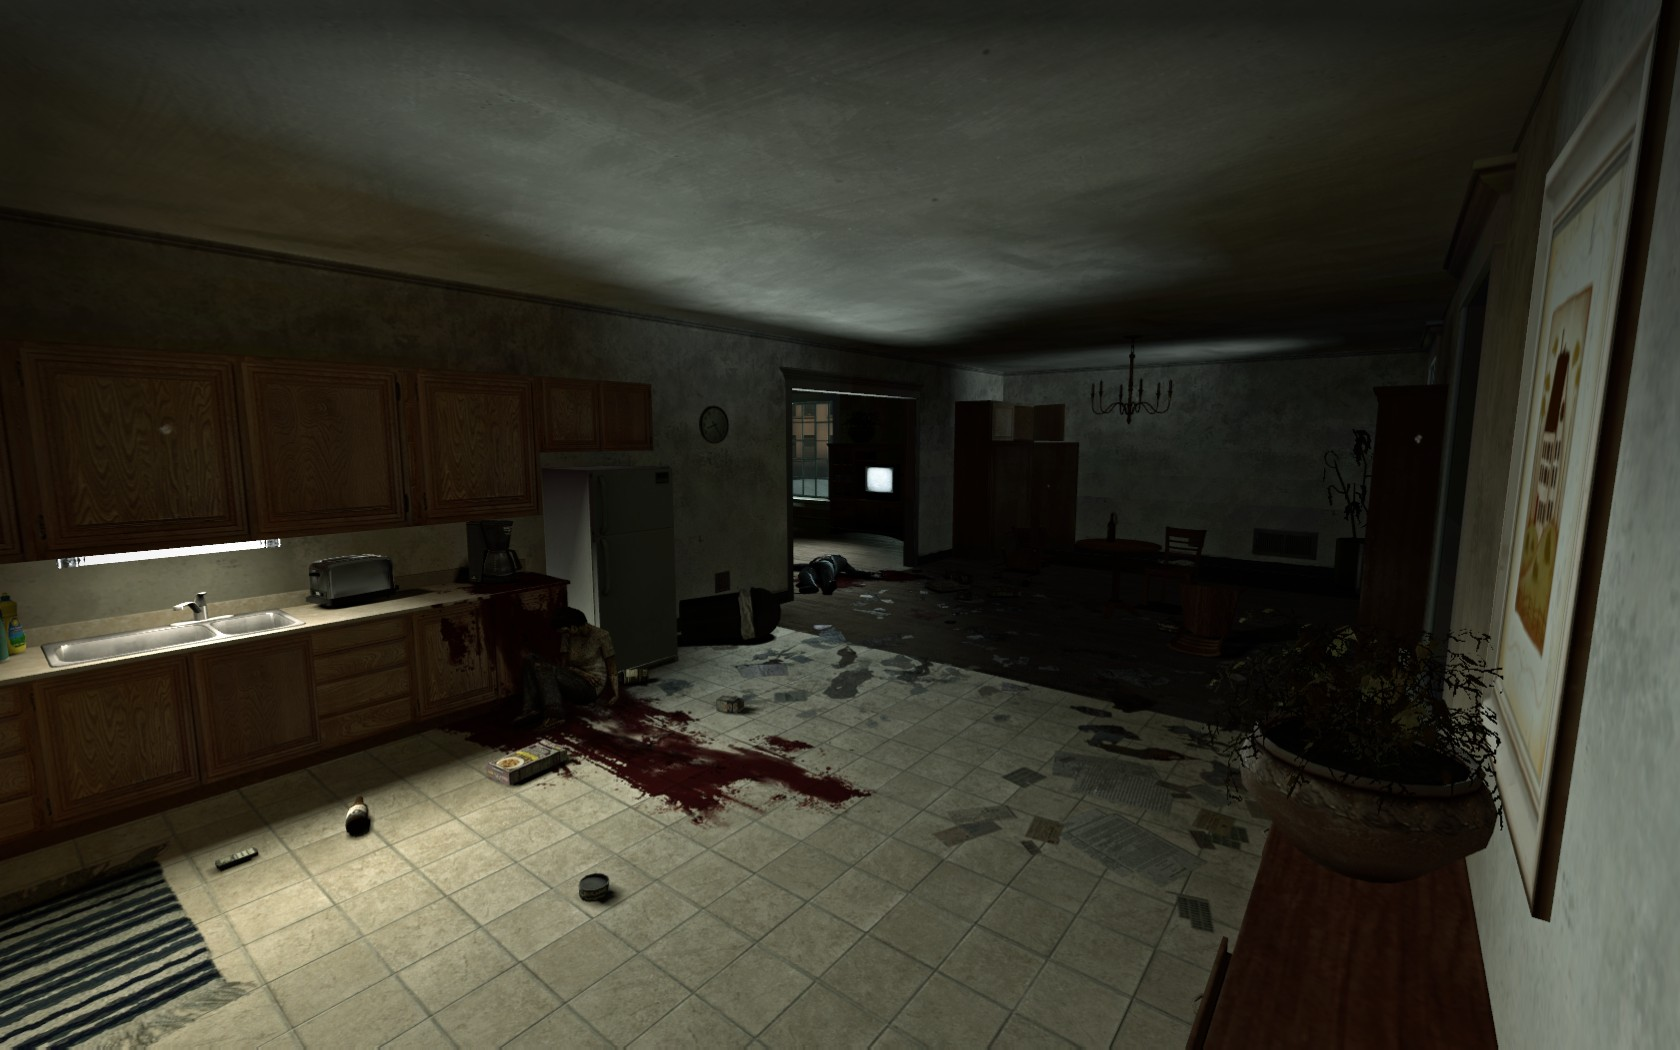
The Survivors leave the greenhouse and use a plank bridge to access a neighbouring apartment building rooftop. They enter the first apartment complex, clean up as they go and check adjoining rooms for supplies. Exiting onto a broad metal rooftop, they climb a short ladder (Zoey will provide a directional instruction) to another roof overlooking the Holly Street Apartment complex. After jumping down onto a small, gloomy entertainment terrace, the Survivors enter a second apartment with a kitchen that faces directly onto the Harbor View Hotel. The street below is heavily infested with Common and Special Infected.
The Survivors jump down from the apartment window onto a semi-trailer and run into the hotel to safety. A safe room is located in the hotel's service kitchen which is accessible through the lobby and reception area. A posted CEDA notice outside hotel entrance states that this was once a quarantine zone.
If not done so before, players may care to spend a short time exploring the street outside the hotel; for example the apartment building's lobby area is a feature of general interest.
Strategy[]
Also see: Tactics
All campaign walkthroughs are done on Normal difficulty in single player, and are meant to give tips on what to do and generally point out things that might otherwise be missed.
There are, of course, a few key things to always remember:
- Stop, look, and listen.
- Being observant might alert you to something nasty ahead of time, like a Witch, Special Infected or Tank, and allow you to prepare yourself.
- Teamwork.
- This cannot be stressed enough. Left 4 Dead is supposed to be a cooperative game. Communicate with your teammates, if you're playing with others, or if you're by yourself with the AI, point out things they might otherwise miss. In all cases, watch out for each other and take care of each other. You are not going to survive the zombie apocalypse by yourself.
- Be ready for anything.
- Don't panic.
Traverse through the rooftops and down through buildings. This level is fairly straightforward with very slim chances of a Witch and virtually none for a Tank.
Campaign[]
At the beginning, all AI Survivors will grab a Submachine Gun.
This level is a mix of traveling across rooftops and through apartments. Due to this combination of close quarters and ranged fighting, either of the two primary weapons can be equally powerful.
Make sure that everybody has grabbed a health pack, as they are necessary for survival. Also, be sure to grab either a Pipe Bomb or a Molotov before proceeding as such items come in handy.
Before proceeding onwards, climb up the small hill of dirt onto the overlooking wall. All of the Infected in the greenhouse are in sight here and can easily be dealt with using the generous supply of grenades available. Since there are eight grenades on the table there is no difficulty in clearing the greenhouse, the adjoining roof and ensuring that the team departs the starting point with grenades in its collective inventory.
The apartment
Note: Although it is possible to jump upon the beams which run across the greenhouse rafters, there is no way to reach the other side, giving this tactic limited potential.
Once you feel prepared, open the door (or jump down from the wall) and proceed through the greenhouse. Dart into the room at the far end or exit via the windows. The first roof tops encountered will be filled with loitering Common Infected.
Cross to the next building via a plank bridge spanning the gap.
Great care is needed at all times on this chapter's rooftops on account of the many Common and Special Infected (chiefly Boomers and Smokers) that well be encountered. Be wary when crossing the wooden planks over to the other rooftop as Smokers have a nasty tendency to drag you over the edge forcing another Survivor to help you up before you can continue.
Once you've reached the other side, turn left and head towards the building. Occasionally, Molotovs or Pipe Bombs can be found on this rooftop. Enter through the one of the three windows on the right-hand side of the building. Search these rooms for useful items. Pipe Bombs or Molotovs can appear on the kitchen table. Pills and sometimes a second pistol can spawn on the living room table or in the kitchen.
Exit through one of the windows in the living room and climb up the ladder to your right. This is a common spot for a Horde to appear and is a favorable ambush place for the Special Infected, so ascend that ladder quickly and avoid loitering on this roof: it is an excellent place for a Smoker ambush. Drop down onto the other side. Since this is a "no return" point, make sure the entire team drops down simultaneously so that the last player does not get snared by a Smoker or pounced by a Hunter. If this occurs they may be beyond rescue.
Enter the Holly Street Apartments through a broken hole in the wall. If you have not encountered a second Pistol yet, there is a corpse near the window that may have one lying beside it. If there is not one there, check the bedroom to the left. Otherwise, head down the stairs and turn right. However, be careful as this is Boomer Alley. Boomers enjoy lurking either around the corner and in the kitchen, or down the hall and around the left corner or in the room to the left. The kitchen is yet another opportunity for a pistol to appear.
The roofs
Approach the rather large windows on the other end of the kitchen. If you did not encounter a Boomer at the staircase (or recently) it is not uncommon for a Boomer to be waiting for you beside the truck below. Short of a well aimed molotov, it is often impossible to kill the Boomer from the window. Get orientated with the Harbour View Hotel opposite and the alarmed car in the street (noting purely out of interest the solitary light behind a window on an upper floor): the lobby of this hotel contains your safe house destination.
When ready, drop down from the window and onto the truck. (Keep in mind that if you miss the truck you will incur health damage). You should be able to deal with the Boomer (if present) from the top of the truck, after which it is a short, sharp sprint into the hotel lobby and the safe room. (If the area is free of enemies, players with inquiring minds and time on their hands may wish to walk along both sides of the street so as to view the store fronts and explore the Holly Street Apartments lobby.)
However, if the car alarm is activated, the team can disengage by tossing a diversionary Pipe Bomb and then bugging out for the safe room. Lacking a pipe bomb, either make a dash for the safe room or hold out with your team in a defensive position until things calm down.
Note that the hotel entrance to the hotel is a possible spawn point for a Witch. Leave her until last and either try to sneak around her or put a high-health team member out front, hit her with a Molotov (if you have one) and saturate her with gunfire. A player may be incapacitated, but it is no big deal since the safe room is very close by.
On entering the hotel, if you can spare a few seconds, check the counter for pills before you enter the safe room.
Shut the door on any pursuing Infected, and take a quick breather. Don't wait too long, though! We have a plane to catch!
Left 4 Dead 2 Version[]
The map is unchanged apart from weapon and enemy profiles.
Versus[]
The Survivors[]
Now that humans are controlling the Special Infected, things can only get harder. However, they can't spawn until you leave that upper section of the greenhouse. That doesn't mean that you should let them have a good chance to find just the right spot, though! Hurry up and get your supplies, and get running!
When you exit the greenhouse, Hunters will pounce at you from rooftops and windows. Remember that as Hunters, human players tend to be less accurate but more tenacious than AI controlled Hunters. When you cross the wooden planks to the other building, you may be in for a nasty surprise. Remember those computer-controlled Smokers who on occasion decided to drag you off of the roof? Well, now you've got human Smokers who love to set up deadly ambushes at every possible moment. Remain on your guard.

The hotel
When moving inside buildings, be wary of mainly the Boomer. The Boomer can ruin the day of even the most competent Survivor team. However, when traversing the rooftops, the Hunters and Smokers are your biggest threat. Seeing as this level consists of moving from rooftops to indoors to rooftops and back indoors, you need to remain largely cautious.
Once you've made it to the window across the street from the hotel, you're almost there! However, do not rush for the safe room. This can be a fatal mistake for the Survivors. Competent teams of Infected can ambush you with deadly efficiency. Take things slowly from this point and assure that no Special Infected are lurking in the area. Be extra cautious if there is a Witch in front of the hotel. Smokers can drag you in to them; Hunters can crouch in front causing a Survivor to shoot both it and the Witch; and a Boomer can conceal it completely. All of these tactics can cause a Survivor to inadvertently startle the Witch.
Now that you've dealt with the last of the Special Infected, dash for the safe room. But was it the last of the Infected? Hunters sometimes decide that a final desperate pounce from within the safe room is the best option. Remain wary of Hunters who wait in the safe room. This can keep a lone Survivor―who made a break for it―from success.
The Infected[]
See also: The Boomer, The Hunter, The Smoker, The Tank
Another slip up? Don't worry, the Survivors pissed off those boat owners, so you get another chance. Plus, in a city THIS ruined, the Survivors are probably pretty discouraged too. Turn them into puddles on the ground!
Overall Tips
- Any survivors that choose to run ahead of or fall behind their teammates will be much easier to seriously damage and kill. The farther away they are from their teammates, the more likely they are to be incapacitated or die before their teammates can reach them.
- The Survivors all have outlines around them, showing their status and location. Green means they're healthy. Yellow means they're hurt. Red means they're low on health. Purple means they've been covered in Boomer bile. You can probably discern which to seek out first if possible.
- Think like a Survivor. When you play as one, when are the worst times that something could come at you? Exploit that knowledge.
- Teamwork, as aforementioned. Has a Boomer gotten their bile all over the Survivors? Jump one of them or a clean one. They can't see their teammates' aura until they're clean...and by then, it might be too late.
- As much as teamwork is a strength for you and your enemies, a lack of it will be their downfall. If you can focus all of your energy on killing one of the Survivors, the rest will be that much easier to take down. Not only will they have one less gun, but they will have three Survivors to your three incapacitating Infected.
Boomers: Fragile as you are, you can still be the biggest pain in the world if you really work hard. Hide around corners and generally around obstacles the Survivors will probably pass. If you can't find a corner, just rush them, go kamikaze; even if you miss, maybe they won't. A nearby rooftop is a good place to start. Wait for the Survivors to come close and rain vomit down on them. If they continue or you miss, drop down and start hitting them. Don't underestimate the Boomer's attack: it does more damage than regular Infected. Hopefully, once you've started attacking them, a trigger-happy Survivor will help you to spread your bile. If the Witch appears, hide exceedingly close to her: if they shoot you, it disturbs her. If they don't, you'll have a chance to vomit on them.
Chargers: There are some good instant kill spots on this level, so don't hesitate to seize the chance when opportunity presents itself. Or, you can attempt to attack from a selective few spots as the Survivors get to the Harbor View Hotel; the planks outside the greenhouse and the roof area before ascending the ladders are good choices. Also, try pummeling Survivors as they get down from kitchen area leading to the hotel itself for some extra damage.
Hunters: Certainly, you are a force to be reckoned with, though it's a rule of thumb to see your prey before they see you. Hunters work best in ambush situations. Another rule is to not attack a group unless you're trying to distract them, or simply scare them. Try to hide in small spaces, though. Pounce people who wander off. Always remember that you have a strong melee attack, so if you can't quite pounce, feel entirely free to melee. Hiding around Witches and cars with active alarms is also quite devilish and effective. In this level, there are many rooftops and edges. Use this to your advantage. When Hunters pounce someone in a group, the others will stumble backwards. It is entirely possible, albeit difficult, to defeat the team in one pounce. This can occur if the Survivors are foolish enough to group near an edge. When you pounce one, the others will stumble over the edge and grab on. One shredded, three hung out to dry. Additionally, if a Survivor decides to toss a molotov or shoot a gas can, don't be afraid to let yourself catch fire. As long as one of the Survivors caused the fire, you'll do extra damage when you pounce them. Even though you'll be losing health, this is advised as a Hunter pouncing a group has a very short life expectancy anyway.
Jockeys: This level may, or may not, be the best place for you. Try keeping your distance at best until you are ready, as Jockeys are quite known for their annoying noises. Take note that there are some points of no return on this level; use them to your advantage. As much as possible, try steering a Survivor away from the kitchen area (landing on the sidewalk, not on top of the truck is a plus) into the alarmed car near the hotel entrance. At this point, a horde has been summoned and you're done with your primary attack by now, so just join the crowd and attack the struggling Survivors as a last resort; there's no point luring one of them away the second time at this point.
Spitters: The fairly open spaces in this chapter won't do you much good, and the chapter's short length will not help at all, either. As such, your best bet is working at tandem with your fellow Infected teammates. If finding the right timing to coordinate with them proves difficult under some circumstances, at least ascend to the rooftop areas and make good use of them. Pounced, snared, pummeled and puked — all these need sizzling acid action.
Smokers: Smokers are most definitely not meant for close quarters. Stay out of them. Try to pull people back from rooftops, generally slow them down and act as a giant nuisance. Try to separate them, as well! Collaborate with your teammates to keep them from getting to the safe house. A good place to start would be anywhere that can give the Smoker the opportunity to drag someone over an edge. This creates a halt in the Survivor's progress while helping their teammate up. Use this to buy your teammates some time to respawn or find a good location. When Survivors drop down from edges to lower levels, they sometimes can't return. With a little skill, luck and patience, Smokers can drag the last Survivor back to him while his team have already dropped down. This leaves your victim helpless and leads to their inevitable demise. At the end of the level, there's an alarmed car near the hotel entrance. Activate it! Stand around this car and attempt to pull Survivors into it. One way or another, someone is bound to set it off, and set them up for a horde attack. It is a surprisingly good feeling to know that the Survivors didn't make it because you dragged a Survivor into the car and alerted the horde.
Tanks: You are a deadly foe. You were made to charge through seas of lead and shred the Survivors to pieces. However, in this level, you are a true rarity. If you do spawn as a Tank, you're in luck, as this is an ideal level. There are many places where Survivors can be whacked off rooftops and never seen again. As a rule of thumb, try to avoid fire or Molotov-wielding Survivors. If a Survivor is constricted or pounced, do not attempt to "help" the Smoker or Hunter. Your attack will free them and kill your buddy in the case of the Hunter. You may end up saving the Survivor's life. Otherwise, this level is easy, albeit short, to finish the Survivors off with a Tank.
Notes[]
- There is no apparent explanation for the Survivors being in the greenhouse since the only way to enter is how they leave―which strains the powers of credibility, not the least on account of the fact that there are "no-return" barriers on this route. The only other possibility is that they arrived by climbing down from the glass roof or via some other forever unknown route. Some players have reported in-game character dialog to the effect 'we can't stay here forever' which adds credence to the idea that the Survivors were passively holed up at the greenhouse in the wake of their unfortunate experience at the hands of the Slaters.
- In The Sacrifice comic, Francis stated that the Slaters robbed them of their weapons before kicking them off the boat at gunpoint and leaving them to die. It is assumed that they were marooned at the Newburg harbor whereupon they crossed the street, found their way up into the greenhouse and were taking a short break until the moment the plane flew overhead and ignited their hopes of being evacuated from the Metro International Airport.

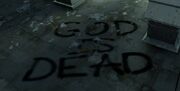
"God is Dead" graffiti on the rooftop
- On the roof after the first apartment, some graffiti says "God is dead." Occasionally, Zoey will comment by saying, "Oh no! The zombies killed God!", and Francis will come back with "God is dead huh? Tell him to join the club."
- The light in the safe room at the end of this level is very bright at the entrance and dark towards the back, but at the beginning of the next one, it is inverted, implying that the Survivors may have switched the lights while barricading the door.

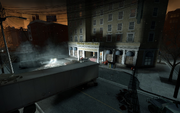
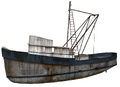
The boat that can be seen in The Greenhouse.
- A harbor containing a boat can be seen in this level just past the barricaded street to the right of the hotel: hence the name Harbor View Hotel.
- The boat in this level was recycled from Half-Life 2 where it can be seen in the highway chapters resting on the shore.
- In Left 4 Dead 2, the water textures are not displayed and only a floor is shown.
- Looking at the signs in this chapter, Fairfield and Newburg both have a Holly Street.
- For obvious gameplay reasons, there are no Pipe bombs and the Molotovs in Versus.
- Humvees can be seen in this level parked behind the barricades at the street near the hotel.
References[]